It starts with that soft paper tear that goes off-script. You pull, the label splits, and a dull gray glue shadow stays fused to the surface. The mug feels ruined, the laptop suddenly looks cheap, the new window already feels worn. A tiny scrap of paper has clearly won the battle. That’s when someone sighs that there must be a better way and, almost without thinking, reaches for the hair dryer.
A stream of warm air, a few seconds of gentle noise, and the sticker edge begins to lift as if it’s reconsidered. The adhesive turns soft and flexible instead of vicious. The label peels away in one clean motion that feels unexpectedly satisfying. The surface underneath looks untouched and clean, as if nothing ever happened. The unlikely tool? The same device used to dry hair before work.
Why warm air works better than fingernails
The secret is surprisingly simple: controlled heat. Most labels rely on pressure-sensitive glue that stays firm at room temperature. When cold, it grips like it has locked itself in place. Add warmth, and that bond loosens just enough to let go. A hair dryer delivers focused gentle heat, unlike harsh heat guns or messy hot water.
 Chair routine after 65 rebuilds leg strength better than squats and keeps joints comfortable
By hovering a few centimeters away and moving slowly, you can watch the sticker relax in real time. The surface below stays safe while the glue quietly gives up. Your fingers feel the shift immediately. Instead of brittle tearing, the label bends, stretches slightly, and then peels off in one smooth ribbon. It’s a small household win that instantly improves your day.

A real-life moment that sells the trick
One cold Saturday morning, a friend battled a massive price label stuck dead center on a new glass frame. Nails, a card, even hot water failed. The sticker shredded into pieces, and every attempt smeared the adhesive into a greasy blur. Finally, out of patience, she grabbed her hair dryer. After thirty seconds on medium heat, held a few inches away, the edges bubbled and lifted. She pulled one corner, and the entire label came off at once, leaving clear glass and visible disbelief.
Later she laughed that she’d been scrubbing stickers her whole life while the answer sat in her bathroom drawer. That’s exactly why this trick spreads so easily through real conversations, long before anyone searches for it online.
The simple science behind the result
There’s nothing mysterious here. Sticker glue is usually a mix of polymers and resins designed to grip firmly. At normal temperatures, those molecules form a tight surface bond that resists casual peeling. That’s why cold labels feel stiff and stubborn.

Introduce steady warmth, and those same molecules gain mobility and elasticity. The glue isn’t dissolved; its behavior changes. It shifts from rigid to cooperative, loosening its hold without harming what’s underneath. A hair dryer is ideal because it delivers moderate fast heat without cooking plastic, paint, or glass. The real goal is simple: soften the adhesive, not the object.
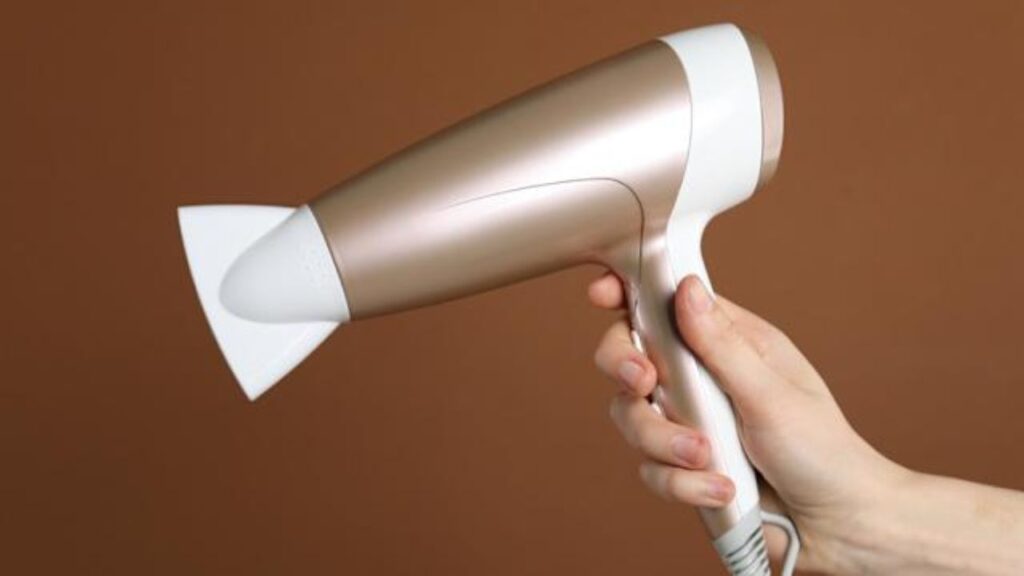
Removing stickers safely with a hair dryer
Keep it straightforward. Set the dryer to medium heat and airflow. Hold it about 5–10 cm away and move side to side to warm the area evenly. After 20–40 seconds, test a corner with a fingernail or plastic card. If it lifts easily, peel slowly, pulling the sticker back over itself at a low angle. That angle spreads the force along the surface instead of ripping upward.
If the label resists, work in cycles: heat briefly, peel a little, then heat again. Problems usually come from impatience—too much heat too close, or pulling too fast. Short warm passes and gentle movement protect delicate items like laptop lids, guitars, toys, or painted walls. Soyons honnêtes, nobody does this every day, so the first try may feel awkward. You’ll know it’s right when the label comes away whole and that dry cracking sound disappears.
Finishing touches and small victories
Once the sticker is gone, you might notice a faint tacky film. For glass or ceramics, a little oil or rubbing alcohol on a cloth clears it. Painted or plastic surfaces respond best to mild soap and warm water. Wood needs extra care: a tiny bit of oil on a soft cloth, always tested first. Short heat bursts, light pressure, and patience beat any sharp scraping tool.
There’s something deeply satisfying about beating a stubborn label with nothing but air and time. In a messy world full of bigger problems, this is a small battle you can win. The object feels yours again, free from tags and branding. Passing on this trick feels like sharing a quiet code for everyday survival.

- Warm the adhesive — gentle heat softens glue without damaging surfaces
- Work progressively — short heating sessions and slow peeling keep control
- Finish gently — oil, alcohol, or soap remove residue for a truly clean result