The moment you notice your eyebrows looking thinner can feel unexpectedly emotional. It might happen under bright bathroom lighting or while scrolling through a selfie where your eyes appear less defined. The tails seem sparse, the arch looks softer, and no amount of pencil delivers the same effect as before. That’s usually when salon brow lamination starts to sound tempting. Then reality sets in—appointments, costs, travel, and the sharp scent of chemicals. You close the tab, rinse your face, and quietly hope there’s a simpler solution that fits into real life.
The Subtle Power of DIY Brow Lamination
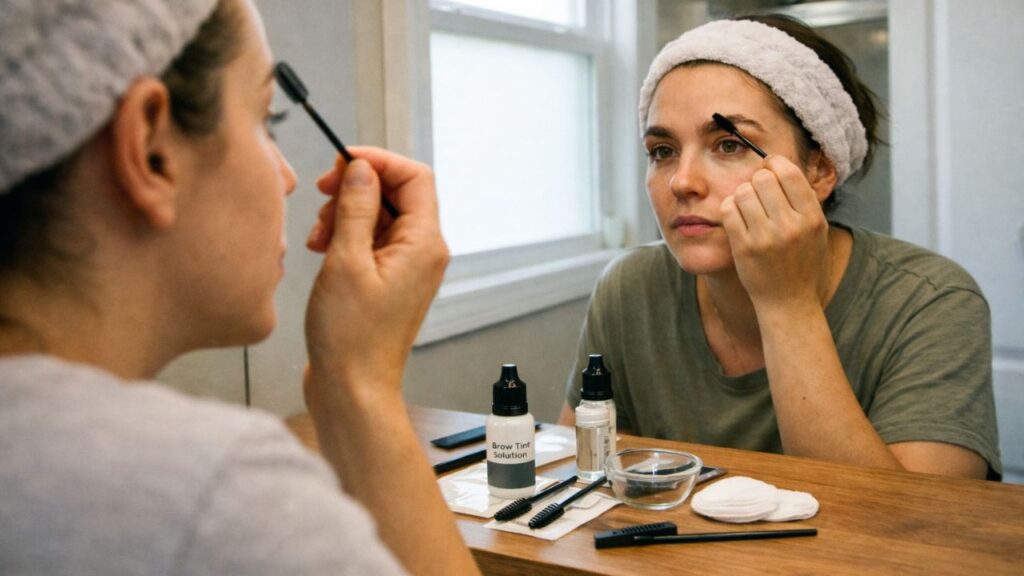
There’s a calm satisfaction in sitting at your own counter late at night, fan humming, music low, realizing your brows can change with a few thoughtful steps. No harsh lights or forced conversation—just your mirror and a small brush. Home brow lamination may sound complicated, but the idea is simple: gently guide your existing brow hairs so they rest where you want, creating a fuller look. You’re not drawing new brows, only helping your natural ones shine. Once the process is broken down—soften, shape, set, nourish—it becomes a routine you can comfortably repeat.
Preparing Your Brow Toolkit
Before touching your brows, prepare your space. Clear your counter, wipe away distractions, and lay out your tools in order. This small ritual creates a relaxed mindset that makes the process feel soothing rather than stressful. Most at-home lamination methods rely on only a handful of essentials. Some prefer full kits, while others choose gentle alternatives already at home. What matters most is keeping things minimal and choosing eye-safe products that work gradually, not aggressively.

- Soft facial cleanser to remove oil, sunscreen, and makeup residue
- Brow spoolie to guide hairs into place (a clean mascara brush works too)
- Lamination or lifting formula to relax brow hairs for reshaping
- Setting solution to lock the new direction in place
- Hydrating oil or serum to restore moisture after treatment
With these tools ready, the process feels less like a cosmetic procedure and more like mindful grooming. You’re simply learning how your brows grow and gently encouraging them into a shape that feels right.

A Calm, Step-by-Step Brow Routine
Your first at-home lamination should be slow and intentional. Notice the water temperature, the feel of the spoolie, and the quiet focus this moment gives you. It’s not just about results—it’s about taking a few minutes for yourself.
Start With a Clean Base
Brows collect oil, skincare, and makeup particles throughout the day. Wash the area with a fragrance-free cleanser and rinse with lukewarm water. Pat dry gently, then swipe a cotton pad across the brows to remove lingering residue. Clean hairs naturally stand apart, making them easier to shape.
Study Your Natural Growth Pattern
Use a clean spoolie to brush your brows upward and observe how each hair behaves. Some lift easily, others lean sideways, and a few may lie flat. Take note of sparse areas, tail thickness, and arch shape. This awareness guides every step that follows.
Gently Relax the Brow Hairs
Apply a small amount of lamination solution using a micro brush or cotton swab, keeping it mostly on the hair. Think of this step as softening clay before shaping. Comb the product through, brushing hairs upward and slightly outward. Allow it to sit for the recommended time, shortening it if your brows are fine or delicate.
 Goodbye Hair Dye for Grey Hair: The Conditioner Add-In That Gradually Restores Natural Colour
Shape With Care, Not Perfection
Once softened, use a clean spoolie to guide your brows into place. Lift the front for fullness, then angle the arch and tail toward the temples. Symmetry matters less than natural balance. Your brows should complement each other, not look identical. Aim for an enhanced version of what you already have.
Lock the Shape in Place
After removing excess solution, apply a light layer of setting product. Comb through again and gently press stubborn hairs into position. When time is up, wipe away residue and step back. The effect is subtle but noticeable—fuller, lifted brows that frame your face effortlessly.
How Brows Settle Over the Next Few Days
Freshly laminated brows can feel like a new haircut. For a day or two, they may look unfamiliar. As natural oils return, the finish softens into something more natural. Avoid getting brows wet for 24 hours, skip steam and heavy creams, and keep products light. Once settled, your routine simplifies—often just a quick brush with a clean spoolie keeps everything in place.
Keeping Brows Healthy and Full
Think of your brows as a small garden that needs consistent care. Each night, apply a drop of nourishing oil or serum and massage gently along the growth direction. This conditions the hair and supports healthy follicles. Resist the urge to over-tweeze. Removing too many hairs can undo your progress. Instead, maintain a soft boundary and let natural fullness do the work.
Finding Your Personal Brow Rhythm
Over time, you’ll develop a routine that suits you. Some prefer lamination every six to eight weeks, while others use gentler methods more often. Your brows will cycle through growth and rest, sometimes looking bold, other times softer. Let these changes guide you. When hairs stop holding shape, it may be time for another session. Doing this at home means learning your own features—your timing, tolerance, and natural arch—and responding to what you see, not what trends suggest.